

 1431
1431
Kolbe Academy students are provided the Microsoft suite of applications through their myKolbe.org email address. Students should create and save documents through their account to create a smoother educational process between the student and teacher.
Accessing Microsoft 365
- Login at mykolbe.org
- Click on “Apps”
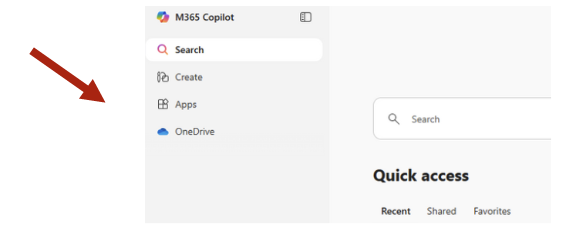
- Select the program you would like to use (Word, Excel, PowerPoint, etc.)
Creating a New Document
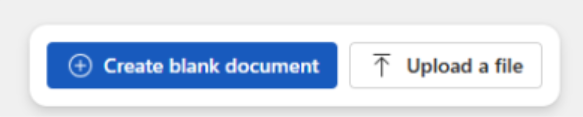
- Click “Create blank document” once program is opened
-
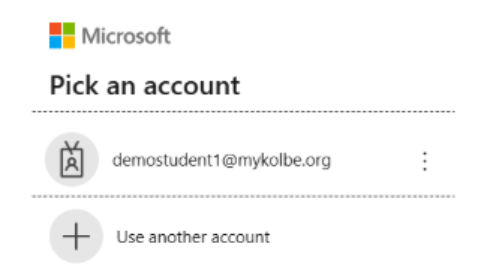
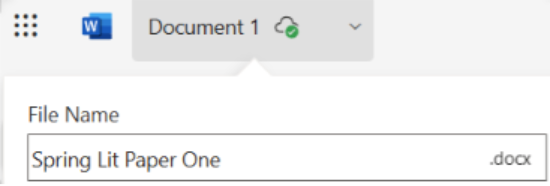
Confirm that the file is being created in your OneDrive account
-
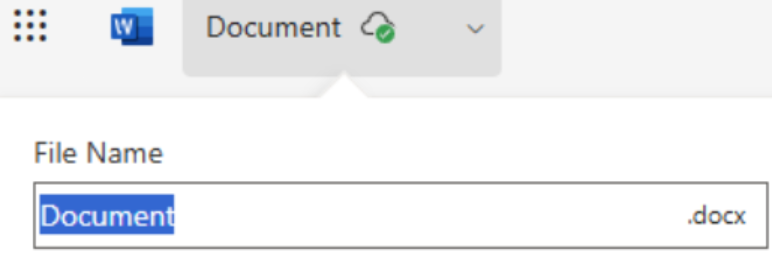
The Green Check in a Cloud will also be visible to confirm your document is autosaved to your OneDrive account
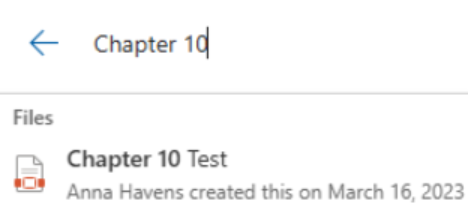
Naming Files
-
Each document will be created using a default name.
-
You can easily rename the document by double clicking on the default name.
-
You can also modify the location the file is saved, but make sure that it is still within your One Drive folder
-
The file type extension (.docx, .pptx, etc.) will be added automatically
Opening a File
-
Login at mykolbe.org
-
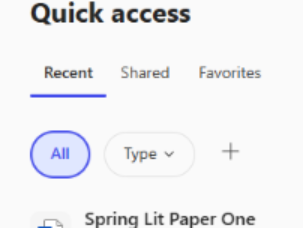
Find the search bar at the top of the account and enter the name of the document
Recent Documents can also be found in the “Quick Access” area on the home page
Accessing a share link
Once your document is open, you can access a share link in order to share the live document. This is the easiest way to ensure your teacher has access to your file’s version history.
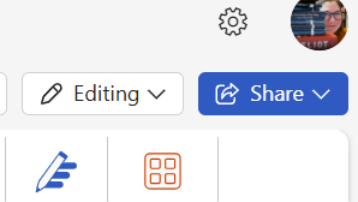
To access the link, click the blue ‘Share’ button at the top right of your document, just underneath your account photo.
Next, click ‘Share’ and then ‘Copy Link’. If you wish, you can edit the permissions so that the link only allows viewing versus editing, but since the link is just going to your teacher, it is fine to allow editing.
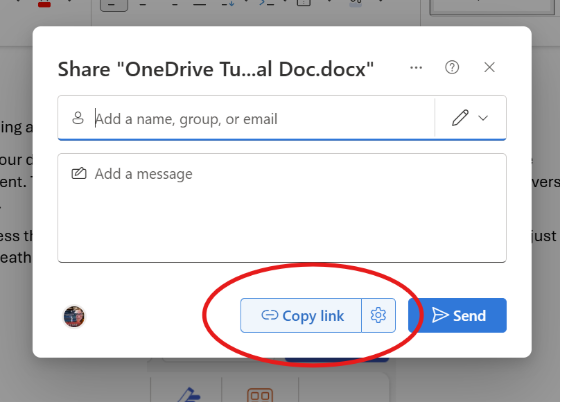
The link you have copied should be submitted in whatever manner your teacher has requested. (For example, some teachers may require that students submit the link as a submission comment next to their assignment.)
Submitting the File on Schoology
Finally, you are ready to submit your actual document to the assignment!
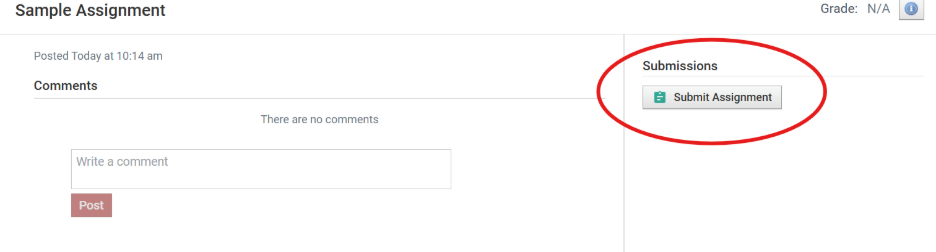
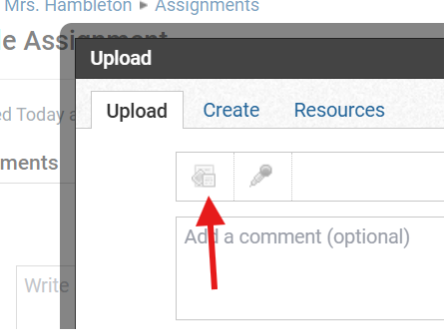
First, navigate to your Schoology assignment. Click on the file upload button.
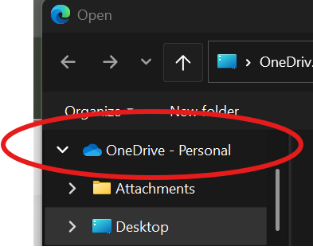
When your File Explorer pops up, make sure you are looking at the contents of your My Kolbe One Drive folder. Then navigate to the location where your assignment file is saved and click to upload.
Once you have uploaded your file to the assignment, checked the upload for errors, and submitted your share link in the manner your teacher has requested, you’re all done!
Submission via Resources
Students can also pull in assignments from outside resources such as Kolbe's provided Microsoft 365 One Drive via Schoology Resources.
Click on the RESOURCES tab in Schoology and then Apps. Approve any of the available apps you would like to use for your assignments:

When you are ready to submit an assignment, select your course page and the assignment due:

Click the button to Submit Assignment:

Click on the Resources tab:

Select the app you approved for Schoology.

Then select the assignment to submit. Then the "Import" button will appear and you can successfully import your submission.

When submitted successfully, it will look like this:


